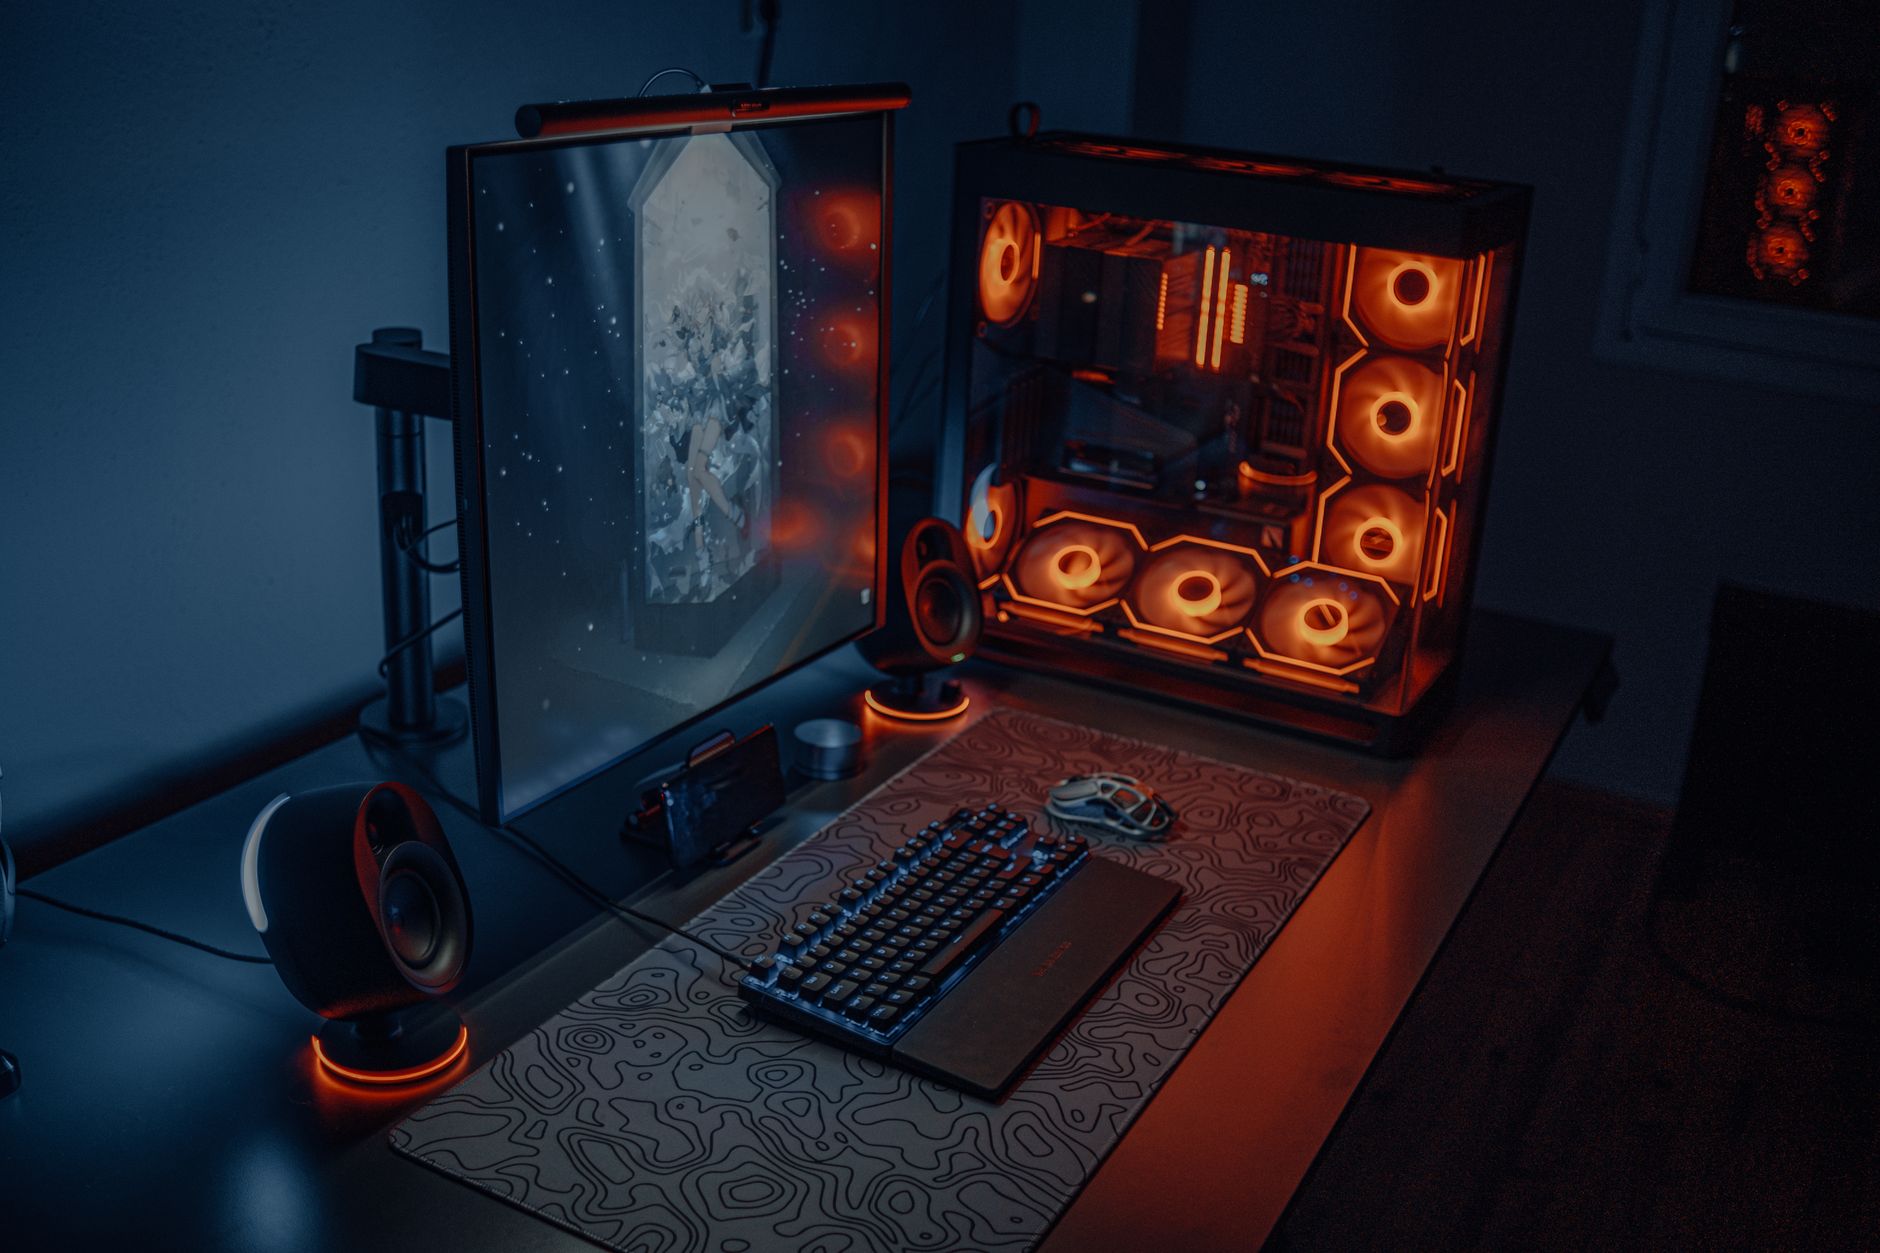
How to Build a Gaming PC Step by Step: Your Ultimate Guide
how to build a gaming pc step by step

How to Build a Gaming PC Step by Step: Your Ultimate Guide

Dive into the rewarding process of assembling your own high-performance gaming rig, tailored precisely to your needs and budget.

Start Building Now

Key Takeaways

  • ✓ Building your own PC can save money and offer better performance per dollar.
  • ✓ No prior experience is necessary; detailed instructions make it achievable for anyone.
  • ✓ Careful component selection is crucial for compatibility and future-proofing.
  • ✓ The process involves installing components like CPU, RAM, GPU, and storage into a motherboard and case.

How It Works

1
Gather Your Components

Research and purchase all necessary parts: CPU, GPU, Motherboard, RAM, Storage, PSU, Case, and Cooling. Ensure compatibility across all selections to avoid issues during assembly.

2
Assemble Core Components

Install the CPU, CPU cooler, and RAM onto the motherboard outside the PC case. This makes handling easier before mounting the motherboard.

3
Mount in Case & Connect Power

Secure the assembled motherboard inside your PC case, then install the power supply unit (PSU). Connect the main power cables to the motherboard and other components.

4
Install Peripherals & Test

Install the graphics card, storage drives, and connect all front panel headers. Perform an initial boot-up to ensure all components are recognized before cable management and OS installation.

Understanding Essential Gaming PC Components
A close-up view of a motherboard and electronic components against a detailed chalkboard backdrop. Photo: Mikhail Nilov / Pexels
Embarking on the journey of building your own gaming PC begins with a fundamental understanding of its core components. Think of your PC as a team, where each part plays a vital role in delivering that smooth, immersive gaming experience. At the heart of it all is the Central Processing Unit (CPU), often called the 'brain' of your computer. It handles all the general computations and instructions, directly impacting your PC's overall speed and multitasking capabilities. For gaming, a CPU with high clock speeds and a good number of cores is generally preferred, as it ensures games run smoothly, especially those that are CPU-intensive or when you're streaming simultaneously. Next, and arguably the most crucial component for gaming, is the Graphics Processing Unit (GPU), or graphics card. This powerhouse is solely responsible for rendering images, videos, and animations on your screen. A powerful GPU is the primary determinant of how well your games will look and perform at higher resolutions and frame rates. Without a robust GPU, even the fastest CPU won't be able to deliver top-tier gaming visuals. Complementing these two heavyweights is the Motherboard, the central nervous system that connects all your components, allowing them to communicate. Choosing the right motherboard ensures compatibility with your CPU and RAM, and provides sufficient ports and expansion slots for future upgrades. Random Access Memory (RAM) acts as your PC's short-term memory, storing data that the CPU needs to access quickly. For modern gaming, 16GB is often considered the sweet spot, allowing games to load faster and preventing stuttering during intense gameplay. Storage, whether a fast Solid State Drive (SSD) for your operating system and games, or a larger Hard Disk Drive (HDD) for bulk storage, determines how quickly your system boots and games load. Finally, the Power Supply Unit (PSU) delivers electricity to all your components, and the PC Case houses everything while providing airflow for cooling. Understanding these foundational elements is the first critical step in how to build a gaming PC step by step, laying the groundwork for a successful and powerful custom rig. For more in-depth knowledge about selecting the right parts, check out our guide on choosing PC parts for gaming.

Pre-Assembly: Preparing Your Workspace and Motherboard
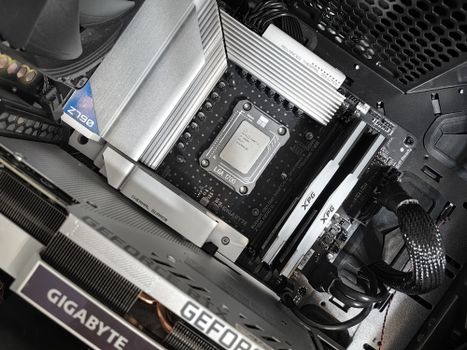
Interior view of a high-performance PC build featuring a Gigabyte motherboard and components. Photo: Andrey Matveev / Pexels
Before you even think about screwing anything into place, proper preparation is key to a smooth and error-free build. Your workspace should be clean, well-lit, and spacious enough to comfortably lay out all your components and tools. Static electricity is the silent killer of PC components, so it's vital to ground yourself. An anti-static wrist strap connected to a metal object (like your PC case, once it's out of the box) or an unpainted metal surface is highly recommended. Alternatively, frequently touching an unpainted metal surface can help discharge static. Lay out all your components and their respective manuals, especially the motherboard manual, as it contains crucial information about header locations and installation procedures. Begin the actual assembly by focusing on the motherboard outside of the PC case. This initial phase is often called 'bench testing' and allows for easier installation of the CPU, CPU cooler, and RAM before the motherboard is confined within the case. First, carefully open the CPU socket lever on your motherboard. Align the small golden triangle or arrow on your CPU with the corresponding mark on the CPU socket. Gently place the CPU into the socket; it should fall into place without any force. Do not push or force it, as bent pins can render both your CPU and motherboard unusable. Once seated, close the lever to secure the CPU. Next, install your CPU cooler. If you're using the stock cooler that came with your CPU, apply thermal paste if it's not pre-applied, and then secure it according to the manufacturer's instructions. For aftermarket coolers, follow their specific mounting hardware guidelines. Finally, install your RAM modules. Locate the RAM slots on your motherboard, usually two or four. Open the clips on both ends of the slot, align the notch on the RAM stick with the notch in the slot, and press firmly on both ends until the clips snap into place. You should hear an audible click. Completing these steps outside the case makes the subsequent installation much simpler, ensuring you're off to a great start on how to build a gaming PC step by step.

Assembling Inside the Case and Cable Management
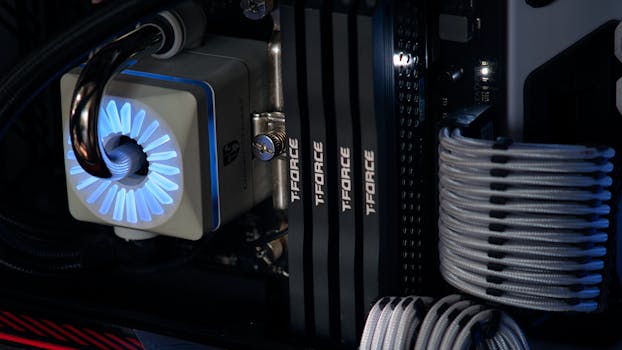
Detailed close-up of a computer cooling system featuring T-FORCE components and blue lighting. Photo: Ivelin Donchev / Pexels
With your motherboard, CPU, cooler, and RAM assembled, the next major phase involves integrating these components into your PC case and managing the labyrinth of cables. This stage is crucial not only for aesthetics but also for maintaining optimal airflow and preventing dust buildup, which directly impacts your system's longevity and performance. Start by installing the I/O shield (if your motherboard didn't come with one pre-attached) into the back of your PC case. This small metal plate provides openings for your motherboard's ports. Once the I/O shield is in place, carefully lower your pre-assembled motherboard into the case, aligning it with the standoff screws. These standoffs elevate the motherboard, preventing it from short-circuiting against the metal case. Secure the motherboard with the provided screws, ensuring it's firmly in place but not overtightened. Next, install your Power Supply Unit (PSU). Most modern cases have a dedicated compartment for the PSU, often at the bottom. Slide the PSU into its bay and secure it with screws from the back of the case. Now comes the graphics card (GPU), often the largest and heaviest component. Locate the appropriate PCIe x16 slot on your motherboard (usually the top, reinforced one). Remove the corresponding expansion slot covers from the back of your case. Align the GPU with the slot and press it firmly until it clicks into place and the retaining clip closes. Secure it with a screw to the case. Finally, install your storage drives. SSDs typically mount in dedicated 2.5-inch bays, while HDDs use 3.5-inch bays, often requiring trays or screws. Once all major components are physically installed, it's time for cable management. This involves connecting all necessary power cables from the PSU to the motherboard (24-pin and 8-pin CPU power), GPU (PCIe power), and storage drives (SATA power). Also, connect the data cables (SATA) for your storage. Crucially, connect the front panel headers from your case (power button, reset button, USB ports, audio jacks) to the small pins on your motherboard. Refer to your motherboard manual for their exact locations. Route cables through the back of the case or designated channels to keep them tidy and out of the way of airflow. Good cable management not only makes your build look professional but also significantly improves cooling efficiency, a vital aspect of a high-performing gaming PC. For more advanced cable routing tips, explore guides on optimizing PC airflow.

First Boot, OS Installation, and Common Troubleshooting Tips

A focused gamer plays e-sports in a neon-lit room, surrounded by digital screens. Photo: Yan Krukau / Pexels
The moment of truth arrives after all your components are meticulously installed: the first boot. Before you button up your case entirely, connect your monitor, keyboard, and mouse. Double-check all power connections, especially the 24-pin motherboard connector and the CPU power. With bated breath, press the power button. If all goes well, your monitor will display the motherboard's BIOS/UEFI screen, indicating that your core components are recognized. If nothing happens, or you encounter error codes, don't panic! This is where troubleshooting comes in. Common issues include improperly seated RAM (try reseating them or testing one stick at a time), an unpowered CPU or GPU, or incorrect front panel header connections. Consult your motherboard manual for beep codes or diagnostic LEDs, which can pinpoint problems. Once you've successfully entered the BIOS, you'll need to install your operating system, typically Windows. Create a bootable USB drive with the Windows installation media on another computer. Insert the USB, restart your PC, and enter the BIOS again. Set the boot order to prioritize your USB drive. Save and exit, and your PC should boot from the USB, starting the Windows installation process. Follow the on-screen prompts, selecting your primary SSD as the installation target. After Windows is installed, the next critical step is to install drivers. Start with your motherboard chipset drivers, then your graphics card drivers (download the latest from NVIDIA or AMD's website). Don't forget drivers for network connectivity, audio, and any other peripherals. Keeping your drivers up-to-date is vital for optimal performance and stability. Finally, install your favorite games and benchmarks to test your new rig. Monitor temperatures (using software like HWMonitor) to ensure your cooling solution is adequate. If you experience crashes or performance issues, systematically re-check connections, update drivers, and consult online forums. Building a PC is a learning experience, and troubleshooting is a natural part of how to build a gaming PC step by step. Celebrate your achievement – you've just brought your custom gaming machine to life!

Comparison

FeatureDIY Gaming PCPre-built Gaming PCGaming Laptop
Cost-EffectivenessExcellent (more performance per dollar)Good (convenience premium)Moderate (portability premium)
Customization/UpgradabilityUnlimitedLimited (depends on model)Very Limited (RAM/Storage only)
Performance PotentialHighest (top-tier components)High (can be bottlenecked)Moderate (thermal limitations)
RepairabilityEasy (component replacement)Moderate (warranty restrictions)Difficult (integrated parts)

What Readers Say

"This guide on how to build a gaming PC step by step made what seemed like an impossible task feel completely achievable. The instructions were clear, concise, and I now have a beast of a machine that outperforms anything I could have bought pre-built."

Alex R. · Austin, TX

"I was nervous about static electricity and bent pins, but following the prep steps in this guide gave me confidence. My first ever PC build was a success, and it's all thanks to the detailed walkthrough on how to build a gaming PC step by step."

Sarah J. · Portland, OR

"After reading this, I saved over $300 compared to a similarly specced pre-built. The performance gain is incredible, and I feel a real sense of accomplishment. This guide truly delivers on how to build a gaming PC step by step."

Mike P. · Chicago, IL

"While most of the guide on how to build a gaming PC step by step was incredibly helpful, I did have to consult a few YouTube videos for very specific cable routing on my particular case. Still, an excellent resource overall for beginners."

Emily K. · Denver, CO

"As someone who wanted to build a PC for both gaming and video editing, this article provided the foundational knowledge I needed. The component section helped me choose parts that excel in both tasks. Highly recommend for anyone looking into how to build a gaming PC step by step."

Chris L. · Miami, FL

Frequently Asked Questions

What is the most crucial component for a gaming PC?

While all components are important for a balanced system, the Graphics Processing Unit (GPU) is generally considered the most crucial for gaming performance. It directly impacts frame rates, resolution capabilities, and overall visual fidelity in games, making it often the most expensive single component in a gaming build.

Is building a gaming PC really cheaper than buying a pre-built one?

Yes, in many cases, building your own gaming PC can be significantly cheaper than buying a pre-built system with comparable specifications. You avoid the 'builder's fee' and can often find better deals on individual components, allowing you to get more performance for your money.

How long does it typically take to build a gaming PC from scratch?

For a first-timer, assembling a gaming PC can take anywhere from 3 to 6 hours, including initial setup and troubleshooting. Experienced builders can complete it in 1-2 hours. The time largely depends on your familiarity with the process and the complexity of your chosen components.

What's the average cost to build a decent gaming PC in the US?

A decent entry-level gaming PC can cost between $700-$1000. Mid-range builds, offering excellent 1080p to 1440p performance, typically fall into the $1200-$1800 range. High-end or enthusiast builds can easily exceed $2000, depending on the desired performance and features.

How does building a PC compare to buying a gaming laptop?

Building a desktop PC offers superior performance per dollar, much greater upgradability, and better thermal management compared to gaming laptops. Laptops provide portability, but often at a higher cost for equivalent performance, and with limited upgrade options (usually just RAM and storage).

Who should consider building their own gaming PC?

Anyone looking for maximum performance for their budget, complete control over component selection, the satisfaction of a DIY project, and the ability to easily upgrade components in the future should consider building their own gaming PC. It's a rewarding experience for enthusiasts and budget-conscious gamers alike.

What are the biggest risks when building a PC?

The biggest risks include damaging components through static electricity, incorrectly installing the CPU (leading to bent pins), or forgetting to connect essential power cables. However, these risks are minimal with careful preparation, grounding, and by following detailed instructions like those provided in this guide.

What future trends should I consider when building a PC today?

Consider future trends like PCIe 5.0 support for faster SSDs and GPUs, DDR5 RAM (though DDR4 is still excellent value), and robust power supplies that can handle potential future component power draws. Also, look at cases with good airflow to accommodate increasingly powerful and hot components.

Now that you have a comprehensive understanding of how to build a gaming PC step by step, you're equipped with the knowledge and confidence to embark on this rewarding project. Take the plunge, customize your ultimate gaming rig, and experience the unparalleled satisfaction of gaming on a machine you built yourself. Your dream setup awaits!

Topics: how to build a gaming pc step by stepDIY gaming computerPC building guidegaming PC componentsassemble gaming PC
Leo List
Brampton weed
Adultwork EstrelaBet Vai de Bet R7 Bet Betão Galera Bet Rainbet Bet9ja Shop SportyBet BetKing Sisal Loto Foot Hollywoodbets YesPlay Odibets RushBet Jugabet BetWarrior BetCity MSport betPawa Fortebet