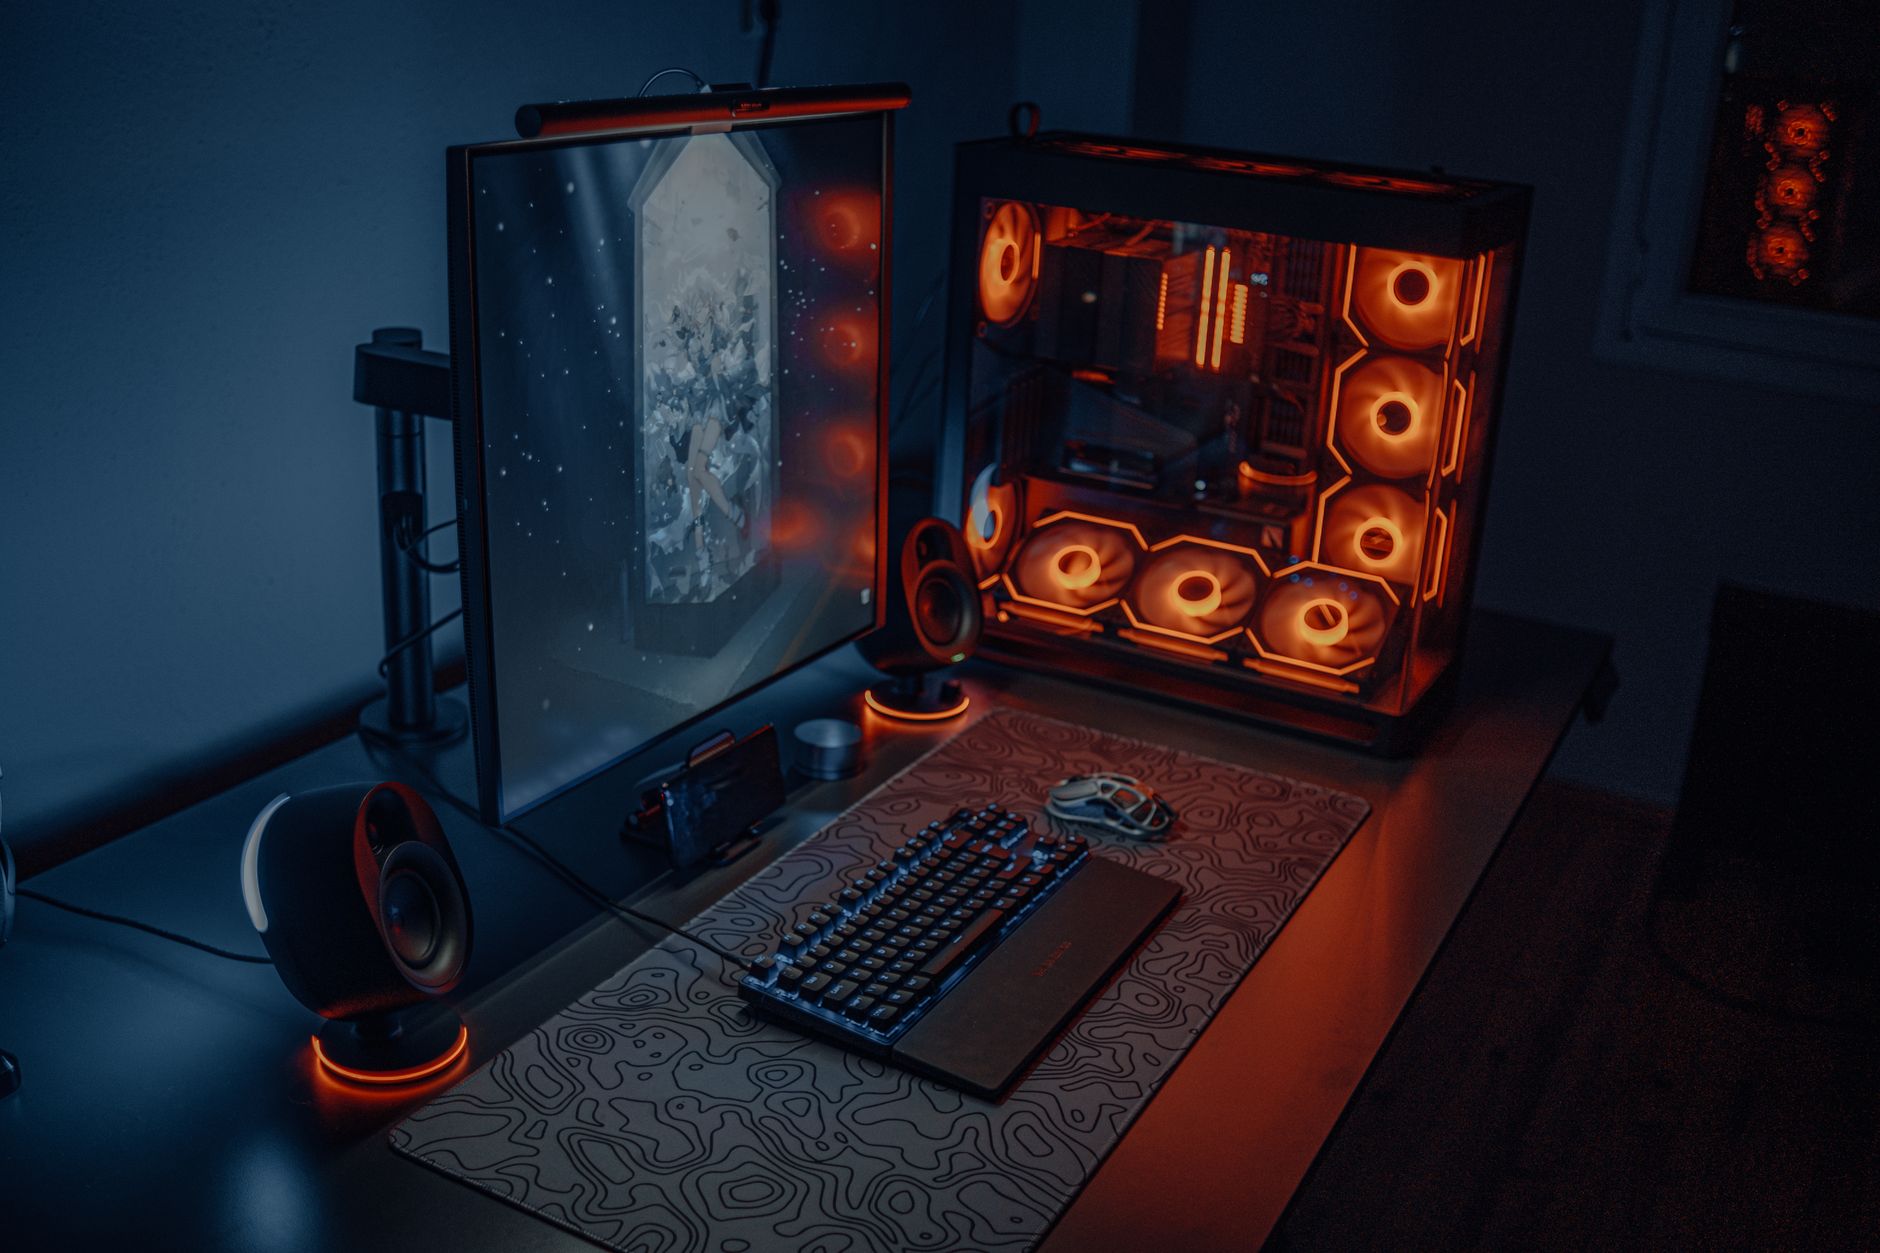
how to build a gaming PC step by step: Your Ultimate Guide
how to build a gaming PC step by step

how to build a gaming PC step by step: Your Ultimate Guide

Unlock the power of custom gaming by assembling your own high-performance PC with confidence and ease.

Start Building Now

Key Takeaways

  • ✓ Building your own PC can save you money compared to pre-built systems.
  • ✓ Customization allows you to choose exact components for your gaming needs.
  • ✓ The process is more straightforward than many people assume.
  • ✓ Understanding components improves troubleshooting and future upgrades.

How It Works

1
Plan Your Build & Budget

Determine your performance goals (e.g., 1080p, 1440p, 4K gaming) and allocate a realistic budget for each component. Research compatibility and ensure all parts will work together harmoniously.

2
Gather Your Components & Tools

Purchase all necessary parts, including CPU, GPU, RAM, motherboard, storage, PSU, and case. Have essential tools like screwdrivers, zip ties, and thermal paste ready before starting.

3
Assemble Core Components

Install the CPU, cooler, RAM, and M.2 storage onto the motherboard outside the case first. This 'bench testing' can help identify any dead-on-arrival components before full assembly.

4
Final Assembly & Cable Management

Mount the motherboard into the case, install the graphics card, power supply, and any additional storage. Connect all power and data cables, focusing on clean cable management for better airflow and aesthetics.

Planning Your Dream Gaming Rig: Components and Compatibility
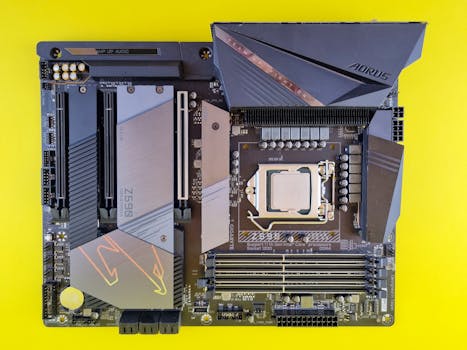
Close-up of a high-performance Aorus motherboard with vibrant yellow background, ideal for tech enthusiasts. Photo: Andrey Matveev / Pexels
Embarking on the journey of how to build a gaming PC step by step begins long before you even touch a screwdriver. The crucial first phase involves meticulous planning, component selection, and ensuring compatibility. This is where you define your gaming aspirations and translate them into a tangible list of parts. First, consider your primary gaming resolution and desired frame rates. Are you aiming for smooth 1080p gaming at 60fps, high refresh rate 1440p, or the ultimate 4K experience? This will largely dictate the power of your graphics card (GPU) and processor (CPU). Your budget is another significant factor. Building a PC offers incredible flexibility, allowing you to prioritize certain components over others. A good rule of thumb is to allocate the largest portion of your budget to the GPU, as it's the primary driver of gaming performance. Next, the CPU plays a vital role, especially in CPU-intensive games or for tasks like streaming. You'll need to decide between Intel and AMD processors, each offering different price-to-performance ratios and motherboard chipsets. For instance, if you opt for an Intel CPU, you'll need an Intel-compatible motherboard (e.g., Z690 for 12th/13th Gen, Z790 for 13th/14th Gen). Similarly, AMD CPUs require AMD-compatible motherboards (e.g., B550 or X570 for Ryzen 5000 series, B650 or X670 for Ryzen 7000 series). RAM (Random Access Memory) is essential for multitasking and loading game assets. For modern gaming, 16GB of DDR4 or DDR5 RAM is generally considered the sweet spot, with 32GB offering more headroom for demanding titles or other applications running in the background. Pay attention to RAM speed (MHz) and latency (CL timing), as these can impact performance. Storage is another key consideration. A fast NVMe SSD (Solid State Drive) is virtually mandatory for your operating system and frequently played games, drastically reducing load times. You might pair this with a larger SATA SSD or a traditional Hard Disk Drive (HDD) for mass storage of less-demanding games or media. Always check the motherboard specifications to ensure it has enough M.2 slots for NVMe drives or SATA ports for other SSDs/HDDs. Choosing the right gaming components can feel overwhelming, but careful research pays off. The Power Supply Unit (PSU) is the heart of your system, providing power to all components. Don't skimp on the PSU; a reliable unit with sufficient wattage is crucial for stability and longevity. Use online PSU calculators to estimate your system's power draw and then add a buffer (e.g., 100-200W) to ensure ample headroom for future upgrades or power spikes. Look for PSUs with 80 Plus Bronze, Gold, or Platinum ratings, indicating higher efficiency. Finally, select a PC case that not only looks good but also offers good airflow, enough space for your chosen components (especially your GPU), and convenient cable management options. Ensure the case supports your motherboard form factor (e.g., ATX, Micro-ATX, Mini-ITX). This meticulous planning phase sets the foundation for a successful and enjoyable build.

Assembling the Core: Motherboard, CPU, RAM, and Initial Setup
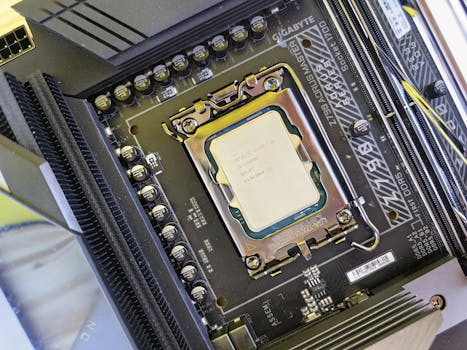
Close-up of a CPU securely mounted on a high-performance motherboard in a computer build. Photo: Andrey Matveev / Pexels
With all your carefully selected components in hand, the exciting part of how to build a gaming PC step by step truly begins. Before you even think about putting anything into the case, it’s often best practice to perform an initial assembly of the core components on a non-conductive surface, like your motherboard box. This allows for easier installation and troubleshooting if any component happens to be dead on arrival. Start by unboxing your motherboard and placing it gently on the anti-static bag or cardboard box it came in. Next, it's time for the CPU. Carefully open the CPU socket lever on the motherboard. For Intel CPUs, ensure the triangular arrow on the CPU aligns with the arrow on the socket. For AMD CPUs, align the gold triangle on the CPU with the triangle on the socket. Gently lower the CPU into place without forcing it, then close the lever to secure it. If it doesn't drop in easily, double-check the alignment – forcing it can bend pins and render the CPU or motherboard useless. Once the CPU is seated, install the CPU cooler. If you're using the stock cooler that came with your CPU, it usually has thermal paste pre-applied. For aftermarket coolers, you'll need to apply a small pea-sized dot of thermal paste to the center of the CPU's integrated heat spreader (IHS) before mounting the cooler. Follow the cooler's instructions carefully for proper installation, ensuring even pressure and secure attachment. This is critical for effective heat dissipation. Next up is the RAM. Locate the DIMM slots on your motherboard. Most motherboards have four slots, and for dual-channel performance, you'll typically install two RAM sticks into specific slots (refer to your motherboard manual for the correct slots, often marked A2 and B2). Open the clips on both ends of the DIMM slot, align the notch on the RAM stick with the notch in the slot, and press down firmly until the clips snap into place. You should hear a satisfying click. Now, if you have an M.2 NVMe SSD, this is the ideal time to install it. Locate the M.2 slot(s) on your motherboard, usually covered by a small heatsink. Remove the heatsink and the small screw or plastic latch. Insert the M.2 SSD at an angle into the slot, then gently push it down and secure it with the screw or latch. Reinstall the heatsink if applicable. With these core components installed, you can perform a quick 'bench test.' Connect your power supply (24-pin ATX and 8-pin CPU power) to the motherboard, plug in a monitor to the motherboard's integrated graphics output (if your CPU has one, otherwise skip this for now), and use a screwdriver to briefly short the two power pins on the motherboard's front panel header (again, consult your manual for pin locations). If everything powers on, fans spin, and you get a display, you're off to a great start! This confirms your CPU, RAM, and motherboard are functioning correctly before full case integration.

Bringing It All Together: Case Integration, GPU, PSU, and Cables
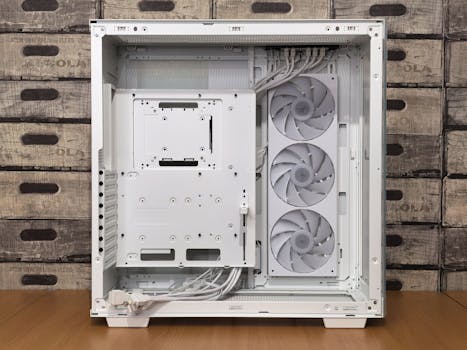
Sleek white computer case showcasing cooling fans, perfect for custom PC builds. Photo: Andrey Matveev / Pexels
With your core components assembled and (hopefully) bench-tested, the next phase in how to build a gaming PC step by step involves integrating everything into your PC case. This is where your build truly starts to take shape. Begin by preparing your case. Remove any side panels and unscrew any necessary drive cages or covers to make installation easier. Many cases come with pre-installed motherboard standoffs; ensure they align with the screw holes on your motherboard. If not, install them according to your motherboard's form factor (ATX, Micro-ATX, etc.). Gently lower your motherboard with its pre-installed CPU, cooler, RAM, and M.2 SSD into the case, aligning the screw holes. Secure the motherboard with screws, but don't overtighten them. Next, install the graphics card (GPU) – often the largest and most expensive component. Locate the appropriate PCIe x16 slot on your motherboard (usually the top-most, reinforced slot for best performance). Remove the corresponding PCIe slot covers from the back of your case. Open the retention clip at the end of the PCIe slot. Carefully align the GPU with the slot and press down firmly until it clicks into place. Secure the GPU to the case with screws. Now, it's time for the Power Supply Unit (PSU). Most cases have a dedicated compartment for the PSU, either at the top or bottom. Slide the PSU into its bay, ensuring the fan is facing the correct direction (usually downwards if there's a vent on the bottom of the case, or upwards if not). Secure the PSU with screws from the back of the case. Proper power management for gaming is essential for system stability. With the major components installed, it's time for cable management – a step that many builders dread but is crucial for aesthetics and airflow. Start by connecting the main 24-pin ATX power cable from the PSU to the motherboard. Then, connect the 8-pin (or 4+4 pin) CPU power cable to the top-left of the motherboard. Next, connect the PCIe power cables from the PSU to your graphics card (many modern GPUs require two or even three 8-pin connectors). Connect any SATA power cables to your SATA SSDs or HDDs, and then connect the corresponding SATA data cables from those drives to the motherboard. Finally, connect the front panel connectors: power switch, reset switch, USB 2.0/3.0, and audio headers. These are often tiny and can be tricky, so consult your motherboard manual for their exact locations and orientations. Use zip ties or Velcro straps to bundle and route cables behind the motherboard tray, keeping the main compartment clear. This improves airflow and makes your build look much cleaner. Once all cables are connected and managed, double-check all connections, then close up your case. You're almost ready to power on for the first time!

Software Installation, Benchmarking, and Essential Gaming Tips

Crop anonymous male in casual outfit working on modern computer and typing on keyboard at home Photo: Anete Lusina / Pexels
After successfully assembling your hardware, the final critical stage of how to build a gaming PC step by step involves bringing your system to life with software. The first step is to install your operating system, typically Windows. You'll need a USB drive with a bootable Windows installation media (created using Microsoft's Media Creation Tool) and your Windows product key. Plug in the USB drive, connect your monitor, keyboard, and mouse, and power on your PC. You'll need to enter the BIOS/UEFI (usually by pressing DEL or F2 repeatedly during startup) to set your USB drive as the primary boot device. Save and exit, and the Windows installation process will begin. Follow the on-screen prompts, selecting your M.2 NVMe SSD as the installation drive for optimal performance. Once Windows is installed, the immediate next step is to install all necessary drivers. Start with your motherboard chipset drivers, which are crucial for system stability and performance. You can find these on your motherboard manufacturer's website. Next, install your graphics card drivers directly from NVIDIA (GeForce Experience) or AMD (Adrenalin Software). These are absolutely vital for gaming performance. Don't rely solely on Windows Update for drivers, as they might not always be the latest or most optimized versions. Also, install drivers for your monitor, network adapter (Ethernet and Wi-Fi), and any peripherals like a gaming keyboard or mouse that come with their own software. Ensure Windows is fully updated to the latest version. After all drivers and updates are complete, it's a good idea to perform some initial benchmarking and testing. Download a few of your favorite games and observe their performance. Use monitoring software like MSI Afterburner or HWMonitor to keep an eye on CPU and GPU temperatures, clock speeds, and usage. This helps ensure everything is running as expected and identifies any potential thermal issues. Run synthetic benchmarks like 3DMark or Cinebench to compare your system's performance against similar builds and confirm it's performing within expected parameters. This also helps you understand your system's capabilities. Finally, here are some essential tips for maintaining your new gaming PC: regularly update your graphics drivers, keep your operating system updated, clean your PC's dust filters and internal components every few months (compressed air is your friend!), monitor your component temperatures, and avoid running too many background applications while gaming. Consider investing in a good surge protector to protect your valuable components. Overclocking your CPU or GPU can provide extra performance, but research it thoroughly and proceed with caution. Remember, building a PC is just the beginning; regular maintenance and smart usage will ensure your custom gaming rig provides years of enjoyment. Enjoy your powerful new machine!

Comparison

FeatureDIY PC BuildPre-built Gaming PCGaming Laptop
CostOften lower for equivalent specsHigher, convenience premiumHighest for equivalent performance
CustomizationUnlimited component choiceLimited to manufacturer optionsVery limited, non-upgradable
UpgradeabilityExcellent for most componentsLimited (RAM, storage, sometimes GPU)Poor (RAM, storage only)
Performance/PriceBest valueGood, but less flexibleCompromised due to thermal constraints
TroubleshootingRequires user knowledgeManufacturer supportManufacturer support
Thermal ManagementExcellent with proper case/fansVaries by modelChallenging, often throttles

What Readers Say

"This guide on how to build a gaming PC step by step was incredibly detailed and easy to follow. I saved hundreds of dollars and now have a rig perfectly tailored to my needs!"

Sarah J. · Austin, TX

"I thought building a PC was too complex, but this article broke it down into manageable steps. My first build was a huge success, and it's so much faster than my old pre-built."

Mike R. · Orlando, FL

"Thanks to this guide, I successfully built my dream gaming PC. Games run flawlessly at ultra settings, and I completed the entire process in one weekend with no major hitches!"

Jessica L. · Seattle, WA

"The article was very helpful, especially the section on component compatibility. I wish there were a bit more on troubleshooting common boot issues, but overall a solid resource."

David K. · Boston, MA

"As a first-time builder, this step-by-step guide was invaluable. From planning to software installation, every stage was covered, making the experience much less intimidating."

Emily P. · Denver, CO

Frequently Asked Questions

What is the most important component when building a gaming PC?

While all components are important for a balanced system, the Graphics Card (GPU) is generally considered the most crucial for gaming performance. It's responsible for rendering the visuals you see on your screen, so allocating a significant portion of your budget to a powerful GPU will yield the biggest impact on frame rates and graphical fidelity.

Is building a gaming PC difficult for a beginner?

Building a gaming PC might seem daunting, but it's largely a process of careful assembly, much like adult LEGOs. With a good step-by-step guide, patience, and attention to detail, most beginners can successfully build their own PC. The biggest challenge is often the initial research and component selection.

How do I choose compatible components for my PC build?

Compatibility is key. Your CPU and motherboard must share the same socket type (e.g., LGA 1700 for Intel, AM5 for AMD). RAM must be the correct generation (DDR4 or DDR5) for your motherboard. Ensure your power supply has enough wattage for all components, and your case can physically accommodate your motherboard and graphics card. Online PC builder tools can help verify compatibility.

How much does it cost to build a decent gaming PC?

The cost varies widely, but a decent entry-level gaming PC capable of 1080p gaming can range from $700-$1000. Mid-range systems for 1440p gaming typically fall between $1200-$1800, while high-end 4K rigs can easily exceed $2000. It depends heavily on your desired performance and choice of components.

Should I buy a pre-built gaming PC or build my own?

Building your own PC generally offers better value for money, greater customization, and a deeper understanding of your system. Pre-built PCs offer convenience, warranty simplicity, and immediate use, but often come with a price premium and limited upgrade options. For enthusiasts and those on a budget, DIY is often preferred.

Who should consider building their own gaming PC?

Anyone looking for maximum customization, better performance-to-price ratio, or a deeper understanding of their hardware should consider building their own PC. It's also ideal for those who enjoy a hands-on project and want the satisfaction of creating something powerful from scratch. It's not just for advanced users.

Are there any safety concerns when building a PC?

The primary safety concerns are static electricity (which can damage components) and minor cuts from sharp case edges. Always work on a clean, non-carpeted surface, use an anti-static wrist strap, and handle components by their edges. Ensure the PSU is unplugged before making or changing connections to avoid electrical shock.

What future trends should I consider when building a PC today?

Consider future-proofing your build with components that support newer technologies like DDR5 RAM, PCIe 5.0 (for GPUs and M.2 SSDs), and robust power supplies that can handle potential increases in power consumption from next-gen components. Investing in a good motherboard and CPU socket that supports multiple generations can also extend your upgrade path.

Ready to take control of your gaming experience? By following this comprehensive guide on how to build a gaming PC step by step, you're not just assembling hardware; you're crafting a personalized powerhouse. Dive into the world of custom PC building today and elevate your gameplay to new heights.

Topics: how to build a gaming PC step by stepDIY gaming computerPC building guidecustom gaming riggaming PC components
Leo List
Brampton weed
Adultwork EstrelaBet Vai de Bet R7 Bet Betão Galera Bet Rainbet Bet9ja Shop SportyBet BetKing Sisal Loto Foot Hollywoodbets YesPlay Odibets RushBet Jugabet BetWarrior BetCity MSport betPawa Fortebet