How to Build a Gaming PC: Your Ultimate DIY Guide
how to build a gaming PC

How to Build a Gaming PC: Your Ultimate DIY Guide

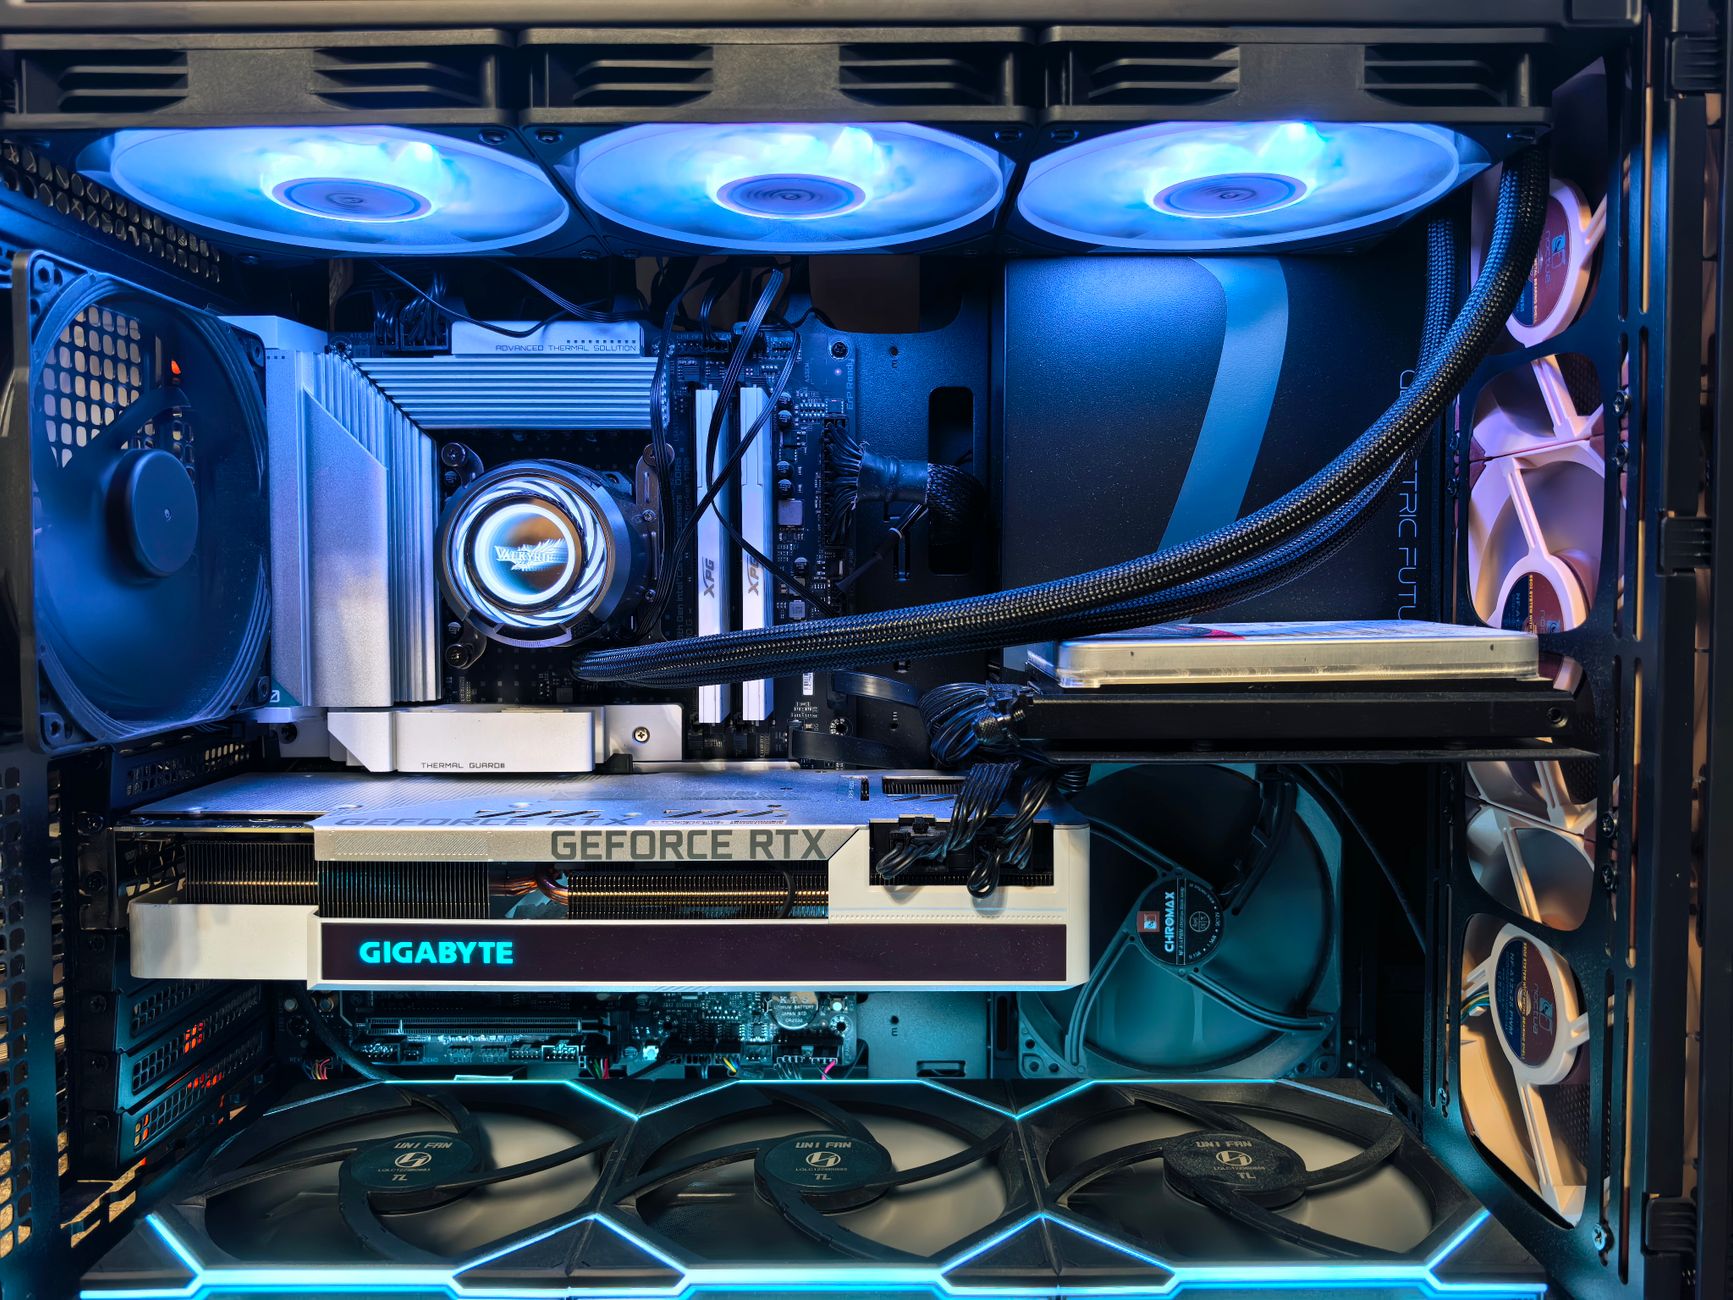
Close-up of an advanced gaming desktop PC with GeForce RTX, liquid cooling, and RGB lighting.Photo: Andrey Matveev / Pexels

How to Build a Gaming PC: Your Ultimate DIY Guide

Unlock unparalleled gaming experiences and save money by assembling your custom gaming PC, tailored to your exact needs.

Start Building Your Dream PC

Key Takeaways

  • ✓ Building a PC offers better value and customization than pre-builts.
  • ✓ No prior technical expertise is required, just patience and our guide.
  • ✓ Careful component selection is crucial for performance and compatibility.
  • ✓ Static electricity is a primary risk; take precautions.

How It Works

1
Plan Your Build & Budget

Determine your performance goals (e.g., 1080p, 1440p, 4K gaming) and set a realistic budget. This will guide your component selection and prevent overspending or underpowering.

2
Select Compatible Components

Choose your CPU, GPU, motherboard, RAM, storage, PSU, and case, ensuring all parts are compatible. Use online tools like PCPartPicker to verify compatibility and estimate power needs.

3
Assemble the Core Components

Install the CPU, cooler, RAM, and M.2 SSD onto the motherboard outside the case. This makes installation easier and allows for initial testing before full assembly.

4
Complete the Build & Install OS

Mount the motherboard into the case, install the GPU, connect all power and data cables, and manage them neatly. Finally, install your operating system and necessary drivers.

Why Build Your Own Custom Gaming PC?
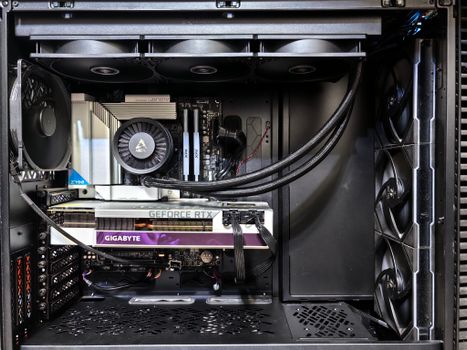
Interior view of a gaming PC showcasing a GeForce RTX graphics card and high-performance cooling system.Photo: Andrey Matveev / Pexels
In the world of high-fidelity gaming, the debate between pre-built gaming PCs and custom-built rigs often comes down to control, cost, and long-term value. While pre-builts offer convenience, they rarely match the advantages of building your own. When you decide to learn how to build a gaming PC, you're not just assembling parts; you're crafting a machine perfectly tailored to your needs, preferences, and budget. This hands-on approach provides an unparalleled understanding of your system, empowering you for future upgrades and troubleshooting. One of the most compelling reasons to build your own gaming PC is the significant cost savings. Manufacturers of pre-built systems often add a premium for assembly, branding, and warranty, which can inflate the price by hundreds of dollars. By sourcing components yourself, you can often find better deals, take advantage of sales, and allocate your budget more efficiently to the parts that matter most for your gaming experience, such as the graphics card (GPU) or processor (CPU). This allows you to get more performance per dollar, a crucial factor for many gamers. Beyond cost, customization is a huge draw. A pre-built PC comes with a fixed set of components, often with compromises in areas like power supply quality, cooling solutions, or storage configurations. Building your own allows you to pick every single part. Want a specific aesthetic with RGB lighting? You can choose components that integrate seamlessly. Need a massive amount of fast NVMe storage for your game library? You can select multiple drives. Concerned about noise? You can invest in premium silent fans and CPU coolers. This level of granular control ensures that every dollar you spend contributes directly to your ideal gaming setup, without any unnecessary bloatware or subpar components. Furthermore, building your PC fosters a deeper understanding of computer hardware. This knowledge is invaluable for future maintenance, upgrades, and even troubleshooting. When an issue arises, you'll have a much better grasp of how your components interact, making it easier to diagnose problems. Upgrading becomes a simple process of swapping out an old component for a new one, rather than being limited by proprietary designs or struggling with inaccessible internal layouts often found in some pre-built systems. This empowers you to keep your system current with the latest gaming demands without having to buy an entirely new machine every few years. It's an investment in both your gaming future and your technical skills. This journey begins with understanding the core components that make up any powerful gaming rig, which we will delve into next.

Essential Components for Your Gaming Rig
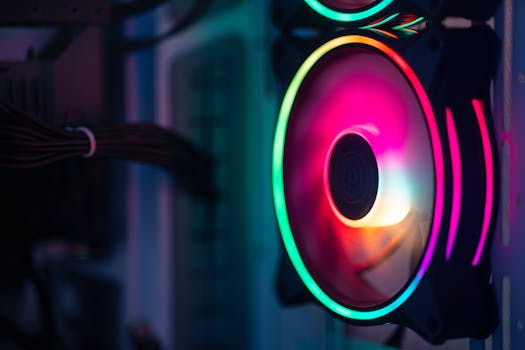
Close-up of a colorful RGB cooling fan in a gaming PC setup.Photo: Necroform Art / Pexels
Embarking on the journey of how to build a gaming PC requires a solid understanding of its core components. Each part plays a critical role in the overall performance and functionality of your system. Making informed choices here is paramount to achieving your desired gaming experience. **Central Processing Unit (CPU):** Often called the 'brain' of the computer, the CPU handles all the general computations, game logic, and background tasks. For gaming, you'll typically choose between Intel's Core i-series and AMD's Ryzen processors. Higher core counts and clock speeds generally mean better performance, especially in CPU-intensive games or multitasking scenarios. Consider the latest generations for optimal performance and efficiency. **Graphics Processing Unit (GPU):** This is arguably the most critical component for a gaming PC, as it renders all the visuals you see on your screen. NVIDIA's GeForce RTX series and AMD's Radeon RX series are the two dominant players. The higher the tier of the GPU (e.g., RTX 4070 vs. RTX 4090), the better its performance in terms of frame rates, resolution support, and graphical fidelity. Allocate a significant portion of your budget here for the best gaming experience. **Motherboard:** The motherboard acts as the central nervous system, connecting all your components. It needs to be compatible with your chosen CPU (socket type, e.g., AM5 for Ryzen 7000 series, LGA1700 for Intel 12th-14th Gen) and support your desired RAM type (DDR4 or DDR5) and speed. Key features to look for include PCIe slot versions (for your GPU), M.2 slots for NVMe SSDs, USB port availability, and Wi-Fi/Bluetooth capabilities. Don't skimp entirely here, as a good motherboard provides stability and upgrade potential. **Random Access Memory (RAM):** RAM is your system's short-term memory, used to store data that the CPU needs to access quickly. For modern gaming, 16GB of DDR4 or DDR5 RAM is the sweet spot, with 32GB becoming increasingly common for high-end systems or multitasking. Look for higher frequencies (e.g., 3200MHz for DDR4, 6000MHz+ for DDR5) and lower CAS Latency (CL) for better performance. Ensure your motherboard supports the chosen RAM type and speed. **Storage (SSD/HDD):** Fast storage is crucial for quick boot times and game loading. A Solid State Drive (SSD), particularly an NVMe M.2 SSD, is highly recommended for your operating system and primary games. For mass storage of less frequently played games or media, a larger, more affordable Hard Disk Drive (HDD) can supplement your SSD. Prioritize an NVMe SSD for your primary drive. **Power Supply Unit (PSU):** The PSU delivers power to all your components. It's vital to choose a PSU with sufficient wattage for your entire system (use online calculators to estimate) and a good efficiency rating (e.g., 80 Plus Bronze, Gold, or Platinum). A modular or semi-modular PSU simplifies cable management. Never compromise on PSU quality, as a faulty unit can damage other components. **PC Case:** More than just aesthetics, your case provides airflow, protects components, and defines the overall size of your build. Consider factors like size (ATX, Micro-ATX, Mini-ITX), airflow design, radiator support for liquid cooling, and front panel I/O ports. Choose a case that fits all your components and allows for good thermal performance. **Cooling System (CPU Cooler & Case Fans):** Your CPU will generate heat, especially under load. A stock cooler might suffice for entry-level CPUs, but for gaming, an aftermarket air cooler or an All-in-One (AIO) liquid cooler is highly recommended. Case fans are also crucial for maintaining good airflow, pushing hot air out and pulling cool air in. Proper cooling prevents thermal throttling and extends component lifespan.

Step-by-Step Assembly: Bringing Your Vision to Life
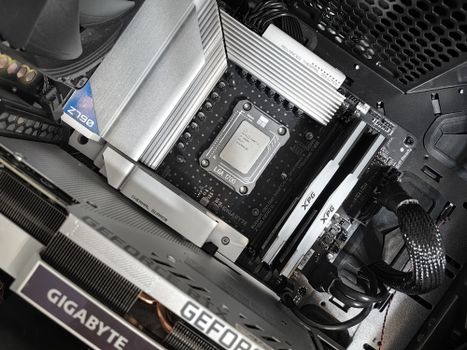
Interior view of a high-performance PC build featuring a Gigabyte motherboard and components.Photo: Andrey Matveev / Pexels
Now that you have all your components, it's time to learn the practical steps of how to build a gaming PC. This process might seem daunting, but by following these steps carefully, you'll have your dream machine up and running. Before you begin, find a clean, well-lit workspace. Ground yourself by touching a metal object or using an anti-static wrist strap to prevent electrostatic discharge (ESD), which can damage sensitive components. **1. Prepare Your Motherboard:** Start by installing the CPU onto the motherboard. Carefully open the CPU socket lever, align the CPU's golden triangle or notch with the corresponding marker on the socket, and gently place it in. Close the lever to secure it. Next, install your CPU cooler. If it's an air cooler, apply thermal paste (if not pre-applied) and mount it according to the manufacturer's instructions. For AIO liquid coolers, install the CPU block now, leaving the radiator for later. **2. Install RAM and M.2 SSDs:** Locate the RAM slots on your motherboard. Open the clips on both ends, align the RAM stick's notch with the slot, and press down firmly until the clips snap into place. For M.2 NVMe SSDs, locate the M.2 slot(s), remove the tiny screw/standoff, insert the SSD at an angle, and push it down before securing it with the screw. These steps are best done outside the case for easier access. **3. Mount Motherboard in Case:** Carefully place your motherboard into the PC case, aligning the screw holes. Ensure the I/O shield (if not integrated) is properly seated in the case's rear opening. Secure the motherboard with the appropriate screws provided with your case. Don't overtighten. **4. Install Graphics Card (GPU):** Locate the primary PCIe x16 slot on your motherboard (usually the top one). Open the retention clip on the slot. Carefully align your GPU with the slot and push it down firmly until it clicks into place and the retention clip closes. Secure the GPU to the case with screws or a latch mechanism. **5. Install Storage Drives:** Install any 2.5-inch SSDs or 3.5-inch HDDs into the designated drive bays in your case. These usually slide into trays or screw directly into mounting points. Ensure they are securely fastened. **6. Install Power Supply Unit (PSU):** Mount the PSU into its designated bay, typically at the bottom or top rear of the case. Secure it with screws. Now, begin connecting the power cables. Connect the large 24-pin ATX power cable to the motherboard, the 8-pin (or 4+4-pin) EPS cable for the CPU, PCIe power cables to your GPU, and SATA power cables to your SSDs/HDDs. **7. Connect Front Panel Cables and Case Fans:** This can be the trickiest part due to small connectors. Refer to your motherboard manual to correctly connect the front panel header cables (power button, reset button, USB ports, audio jacks, LEDs). Also, connect your case fans to appropriate fan headers on the motherboard. If you have an AIO liquid cooler, install its radiator and connect its fans and pump power. **8. Cable Management:** Neatly route all cables behind the motherboard tray and through grommets to improve airflow and aesthetics. Use zip ties or Velcro straps to bundle cables. Good cable management is essential for proper cooling and makes future upgrades easier. **9. Initial Boot and OS Installation:** Once everything is connected, close up your case, connect your monitor, keyboard, and mouse. Power on your PC. If all goes well, you should see your motherboard's splash screen. Insert your USB drive with the Windows installer (or other OS) and follow the on-screen prompts to install your operating system and necessary drivers. Congratulations, you've built your own gaming PC!

Common Pitfalls and Pro Tips for PC Builders

Interior view of a high-performance PC build featuring a Gigabyte motherboard and components.Photo: Andrey Matveev / Pexels
Even with a detailed guide on how to build a gaming PC, first-time builders can encounter common challenges. Being aware of these pitfalls and armed with a few pro tips will make your build process smoother and more enjoyable. **Common Pitfalls:** * **Forgetting the I/O Shield:** It's a classic mistake. If your case doesn't have an integrated I/O shield, remember to snap it into the case opening *before* installing the motherboard. It's incredibly annoying to realize this after the motherboard is screwed in. * **Incorrect RAM Installation:** Not pushing RAM sticks in firmly enough, or installing them in the wrong slots (for dual-channel memory, refer to your motherboard manual for the correct slots, usually A2/B2 or slots 2 and 4). * **CPU Cooler Mount Issues:** Not applying enough thermal paste, applying too much, or not properly seating the cooler can lead to overheating and system instability. * **Front Panel Connectors:** These tiny wires (Power SW, Reset SW, HDD LED, Power LED) are often confusing. Always consult your motherboard manual; an incorrect connection won't damage anything but will prevent your power button from working. * **Not Connecting GPU Power:** The GPU often requires separate PCIe power cables from the PSU. Forgetting to connect these will result in no display output. * **Ignoring Cable Management:** While not critical for function, poor cable management restricts airflow, makes troubleshooting difficult, and looks messy. **Pro Tips:** * **Test Components Outside the Case:** Before fully installing everything, do a 'bench test' with the CPU, cooler, RAM, and GPU on the motherboard outside the case. This helps identify any dead-on-arrival (DOA) components before you've spent hours on full assembly. * **Consult Your Manuals:** Your motherboard and component manuals are invaluable resources. They contain specific instructions for installation, header locations, and troubleshooting. * **Watch Build Videos:** Complement this guide with a few recent PC build videos on YouTube. Seeing the process visually can clarify steps and boost confidence. * **Don't Force Anything:** If a component isn't going in easily, stop and re-evaluate. Most PC parts fit with gentle pressure and proper alignment. Forcing can bend pins or break connectors. * **Static Electricity Precautions:** Always ground yourself. Touch a metal part of your case (if plugged into a grounded outlet, but switched off) or use an anti-static wrist strap. Avoid building on carpet. * **Organize Your Screws:** Use small containers or magnetic trays to keep track of the different types of screws (motherboard, case, PSU, M.2) – they are not universal! * **Install Drivers Immediately:** After installing Windows, download and install the latest graphics drivers from NVIDIA or AMD, and motherboard chipset drivers from your motherboard manufacturer's website. This ensures optimal performance and stability. * **Enjoy the Process:** Building a PC is a rewarding experience. Take your time, be patient, and celebrate each successful step. The satisfaction of powering on a machine you built yourself is immense.

Comparison

FeatureDIY Gaming PCPre-built Gaming PC (Budget)Pre-built Gaming PC (High-End)
Cost-EffectivenessExcellent (more performance per dollar)Good (initial savings)Poor (significant premium)
CustomizationUnlimited (choose every part)Limited (fixed configurations)Limited (some configurable options)
UpgradeabilityExcellent (standardized parts)Varies (often proprietary designs)Good (standardized parts, but internal layout may hinder)
Learning CurveModerate (requires research and assembly)None (ready to use)None (ready to use)
TroubleshootingEmpowering (understand your system)Relies on customer supportRelies on customer support
Build Quality ControlYou control component qualityCan vary, often compromisesGenerally high, but still proprietary

What Our Readers Say

5 ★★★★★

"Following this guide for how to build a gaming PC was incredibly straightforward. I saved over $300 compared to a similar pre-built and now have a machine that runs Cyberpunk 2077 flawlessly at 1440p. Highly recommend!"

5 ★★★★★

"I was nervous about building my first PC, but the step-by-step instructions were so clear. My new gaming rig is super fast, and I loved the satisfaction of putting it together myself. This guide demystified the whole process."

5 ★★★★★

"The focus on component compatibility and the detailed assembly steps were exactly what I needed. My PC booted on the first try, and I've been enjoying smooth 4K gaming ever since. Truly an expert guide on how to build a gaming PC."

4 ★★★★☆

"Fantastic guide overall. I did struggle a bit with the front panel connectors, but the motherboard manual tip saved me. My PC is powerful and exactly what I wanted, even with that minor hiccup."

5 ★★★★★

"As a casual gamer looking to upgrade, this article provided the confidence to take the DIY plunge. The budgeting advice was spot on, and I built a fantastic mid-range gaming PC without breaking the bank. It's a lot easier than I thought!"

Frequently Asked Questions

Is it really cheaper to build a gaming PC than to buy one?
Yes, generally it is cheaper to build a gaming PC, especially for mid-range to high-end systems. You save on labor and branding premiums, and you can often find better deals on individual components. This allows you to get more performance for your budget or save money on a comparable system.
Do I need any special tools to build a gaming PC?
You'll primarily need a Phillips head screwdriver. An anti-static wrist strap is highly recommended to prevent static damage, and zip ties or Velcro straps are useful for cable management. A magnetic parts tray can also be helpful for organizing screws, but isn't strictly necessary.
How long does it take to build a gaming PC?
For a first-time builder, the assembly process itself can take anywhere from 3 to 6 hours, depending on complexity and how meticulously you work. Planning and research beforehand will add time, but the physical build typically falls within that range.
What's a good budget for a gaming PC that can run most games at 1080p high settings?
A budget between $800 and $1200 is generally sufficient for a gaming PC capable of running most modern games at 1080p on high settings with good frame rates. This range allows for a solid CPU, a capable mid-range GPU (like an RTX 4060 or RX 7600), 16GB RAM, and an NVMe SSD.
Should I choose Intel or AMD for my CPU?
Both Intel and AMD offer excellent gaming CPUs. Intel generally has a slight edge in raw single-core gaming performance, while AMD often provides more cores for multitasking and productivity at competitive prices. Your choice often comes down to specific price-to-performance ratios at the time of purchase and personal preference.
Who should consider building their own gaming PC?
Anyone looking for maximum performance for their budget, complete control over component selection, a deeper understanding of their hardware, and the satisfaction of a DIY project should consider building their own gaming PC. It's also ideal for those planning future upgrades.
Is it easy to damage components during the build process?
While components are somewhat delicate, with careful handling and proper precautions like grounding yourself, the risk of damage is low. The most common errors are bent CPU pins (from improper installation) or static discharge, both of which are avoidable with patience and attention to detail.
What are the future trends in gaming PC hardware?
Future trends include continued advancements in GPU performance and efficiency, wider adoption of DDR5 RAM, faster NVMe SSDs (PCIe Gen 5 and beyond), and more powerful, multi-core CPUs. AI integration in gaming and upscaling technologies will also continue to evolve, enhancing visual fidelity and frame rates.

Ready to take control of your gaming destiny? Our comprehensive guide on how to build a gaming PC provides all the knowledge and steps you need to create your personalized, high-performance rig. Start your build today and experience gaming like never before.

Topics: how to build a gaming PCDIY gaming PCPC building guidecustom gaming computergaming PC components
Leo List
Brampton weed
Adultwork EstrelaBet Vai de Bet R7 Bet Betão Galera Bet Rainbet Bet9ja Shop SportyBet BetKing Sisal Loto Foot Hollywoodbets YesPlay Odibets RushBet Jugabet BetWarrior BetCity MSport betPawa Fortebet